Originally created as a platform for bloggers, WordPress has evolved into a powerful tool for building all kinds of websites – from personal blogs to complex eCommerce sites. Its flexibility, ease of use, and richness of plugins and themes have earned it a dominant 60% share of the CMS market.
In this WordPress tutorial, you’ll find everything you need to kickstart your journey. From setting up your website to troubleshooting issues, we’ll walk you through every step to master WordPress.
For more tips and resources, check out our latest WordPress tutorials at the end of this page.
WordPress basics
WordPress is a content management system (CMS) built on PHP and MySQL that allows you to create, modify, and publish digital content – individually or as a team. It supports various text formatting, images, videos, and custom code, making it convenient to display engaging website content.
There are two types of WordPress – WordPress.org and WordPress.com. The difference between the two isn’t only about the name but how you will host your website.
WordPress.org, which we will focus on in this tutorial, is a self-hosted platform. That means you can download the WordPress software for free and use it on a third-party hosting provider like Hostinger.
On the other hand, WordPress.com is a hosted platform that lets you create websites for free with certain limitations. You’ll need to sign up for the premium plans to unlock the restrictions, like adding plugins and connecting a custom domain name.
WordPress pricing varies by version, with WordPress.org usually costing less, as you can choose your web host and domain registrar.
Installing WordPress
You can install WordPress locally on your computer after downloading the software files from WordPress.org. However, your website won’t be accessible online.
To make it publicly available, you’ll need to choose a web host for your WordPress installation. At the very least, you should look for one that fulfills the recommended WordPress system requirements:
- PHP version 7.4 or greater
- MySQL version 8.0 or greater OR MariaDB version 10.5 or greater
- HTTPS support
A managed hosting service simplifies launching a WordPress website for complete beginners or advanced users wanting simplified website management.
For example, Hostinger Managed WordPress hosting offers an auto-installer, a smart auto-update tool, a WordPress AI Troubleshooter, and many more features to ease your website management tasks.
Installing WordPress is generally easy, but hosting providers may have different approaches to simplify it. At Hostinger, we provide these three easy methods:
- Using WordPress auto-installer on hPanel. After you’ve purchased a Hostinger hosting plan, WordPress will be installed automatically by completing the initial onboarding steps. Alternatively, use hPanel’s auto-installer tool to install WordPress in a single click.
- Using Hostinger VPS template. If you choose a VPS hosting plan, Hostinger’s VPS template can help you easily set up WordPress and the server operating system without using the command line.
- Installing WordPress manually. This method involves downloading the WordPress installation files from WordPress.org and extracting them to the public_html directory on your hosting file manager. Do note that this method requires manually setting up a WordPress database for the website.
Installing WordPress themes
WordPress themes lay the foundation of your site’s appearance and certain functions. While some can be used on any website, others are built for eCommerce or portfolio websites, for example.
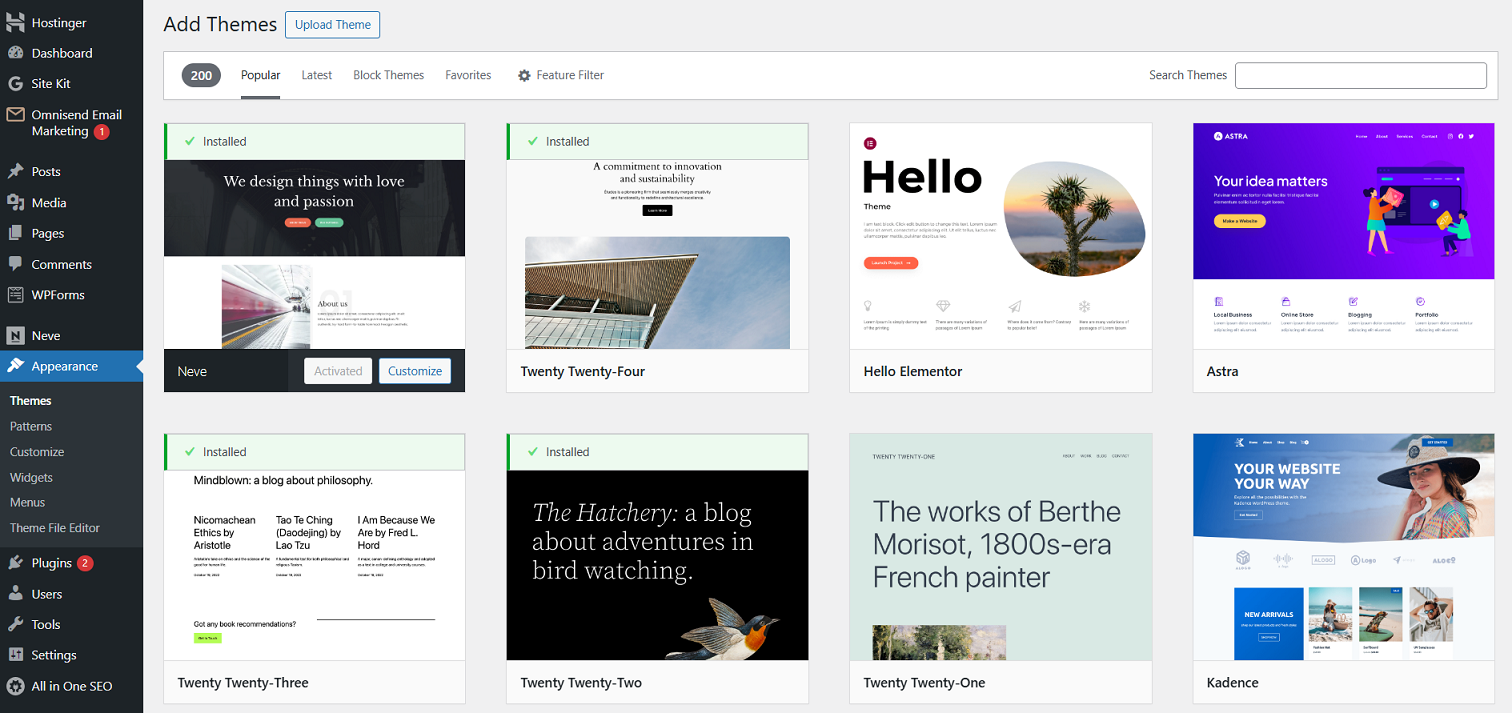
To install a WordPress theme, access Appearance → Themes from your WordPress dashboard.
Clicking the Add New Theme button lets you browse thousands of free themes on the WordPress’ official repository. Visit our list of the best free WordPress themes to help you filter out the options.
Alternatively, you can buy a premium theme from third-party marketplaces or developers. If you do, upload the theme files manually.
Installing WordPress plugins
With WordPress plugins, you can add plenty of new website features without any coding. Thousands of free and paid plugins are built for different purposes – from social media sharing to site security.
Like themes, you can install a WordPress plugin by going to the official WordPress plugin repository or manually uploading the plugin’s files.
Navigate to Plugins → Add New Plugin to browse, install, and activate the best WordPress plugins for your website needs.
While there’s no cap on how many you can use, avoid installing too many plugins on your site to keep it running smoothly. Activate plugins you truly need, as piling up rarely used ones will bloat your site and make it prone to security vulnerabilities.
Important! If you want to find any plugins or themes outside the WordPress official repository, always make sure that the site is legitimate before downloading the files. Also, avoid installing any cracked versions of premium plugins at all costs.
Publishing content
Creating a WordPress website involves publishing a new post and page. Through content, you can implement numerous on-page WordPress search engine optimization (SEO) strategies to help you drive website traffic.
Pages are for static content that doesn’t change often, such as Contact Us, About, or landing pages that serve various purposes.
Posts, on the other hand, are for time-sensitive content, like blog updates or news articles. They can be categorized, tagged, and archived for easy navigation.
First released in WordPress 5.0, the Gutenberg editor has been integrated to make creating and editing posts and pages easier. This improvement lets you build content with a variety of WordPress blocks, including text, images, videos, and buttons.
Creating a new post
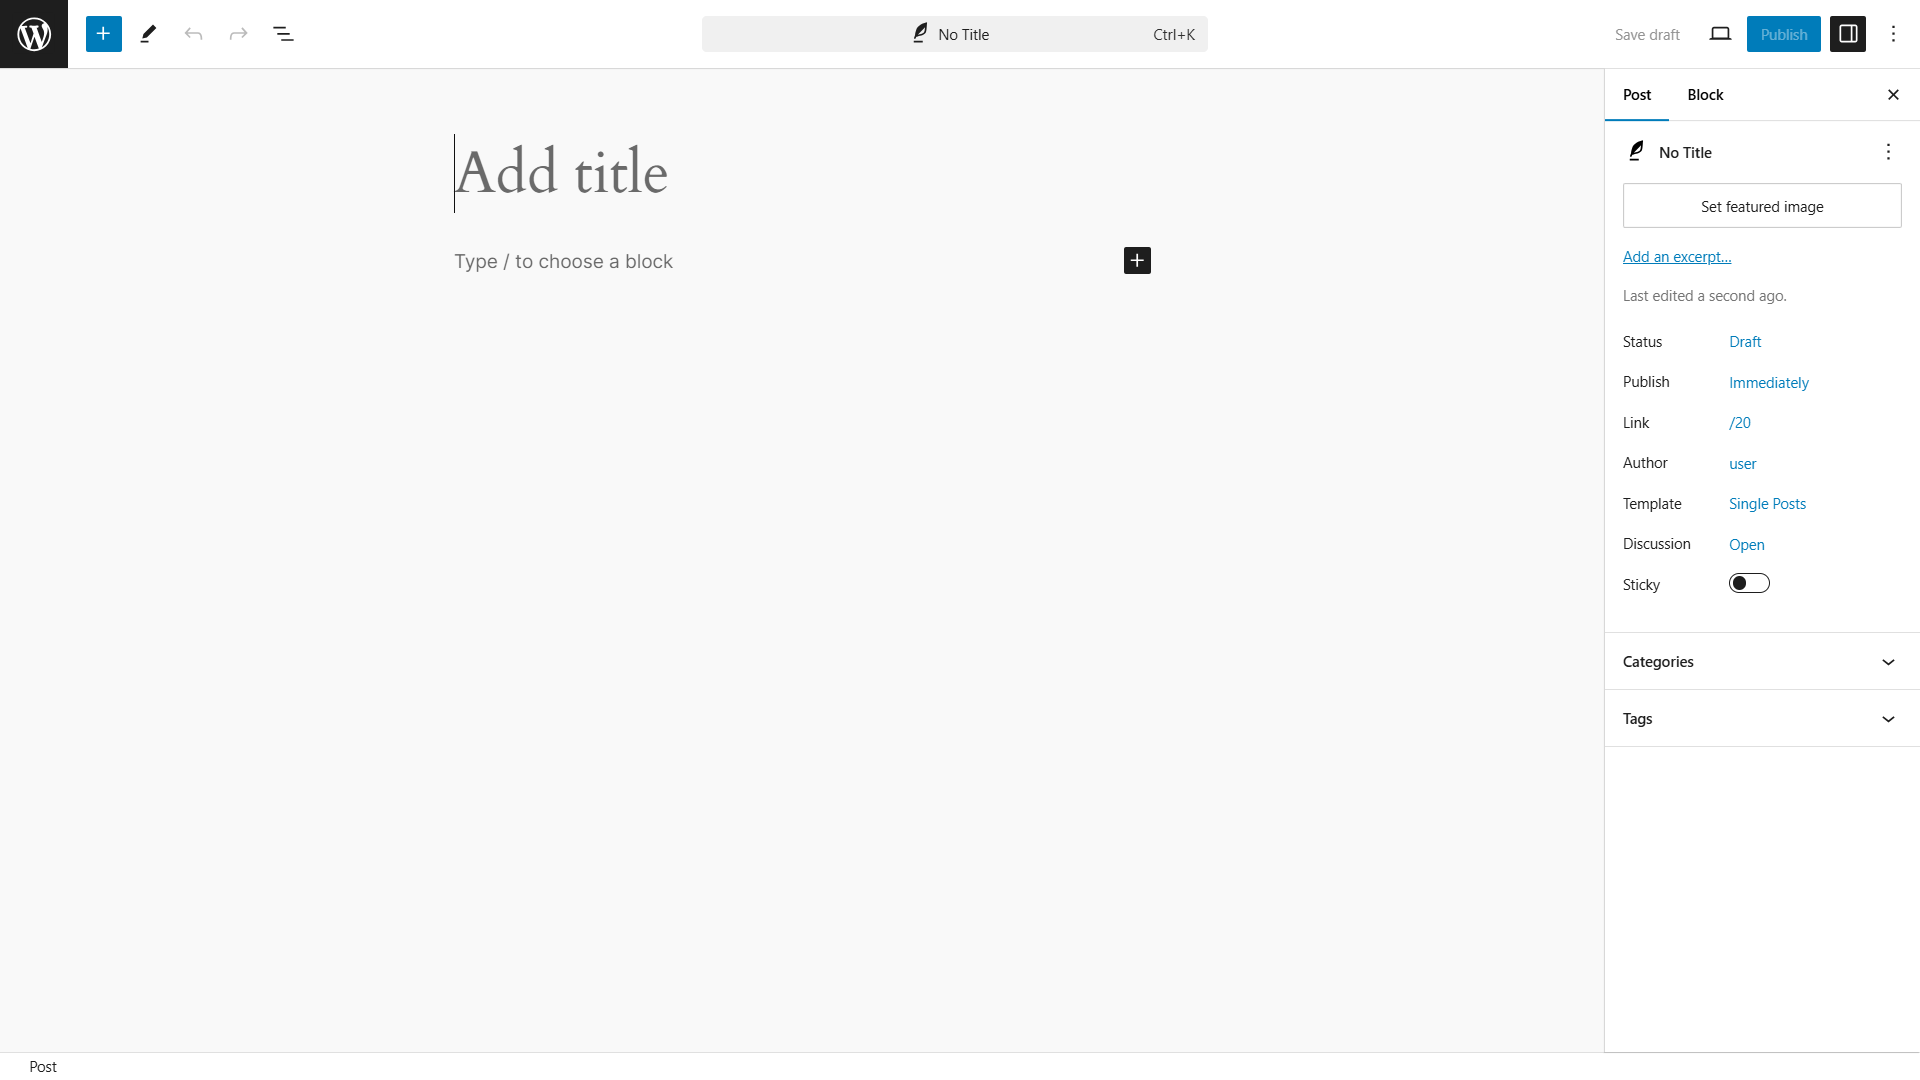
To add a new WordPress post, navigate to Posts → Add New Post from the dashboard’s left sidebar. Alternatively, select New → Post on the top toolbar.
You will see the WordPress post editor interface, which has various features.
The first step is to enter your blog post title. Then, write the actual blog post content with blocks. If you want to format the text, use the block toolbar options.
The post settings panel is on the right side of the screen, with each section serving a particular function:
- Post Summary. Change the status and visibility of the post and schedule it. To make the blog post sticky, select the Stick to the top of the blog option.
- Categories. Add, delete, or edit the post category in this box.
- Tags. This box helps you to add new tags quickly.
- Featured Image. Assign a featured image, which will be visible at the top of the post.
To launch the post, click the Publish button at the top-right corner. That’s it!
As you continue creating posts, they pile up, so consider grouping them using WordPress taxonomy to facilitate easier navigation for your site visitors.
Creating a new page
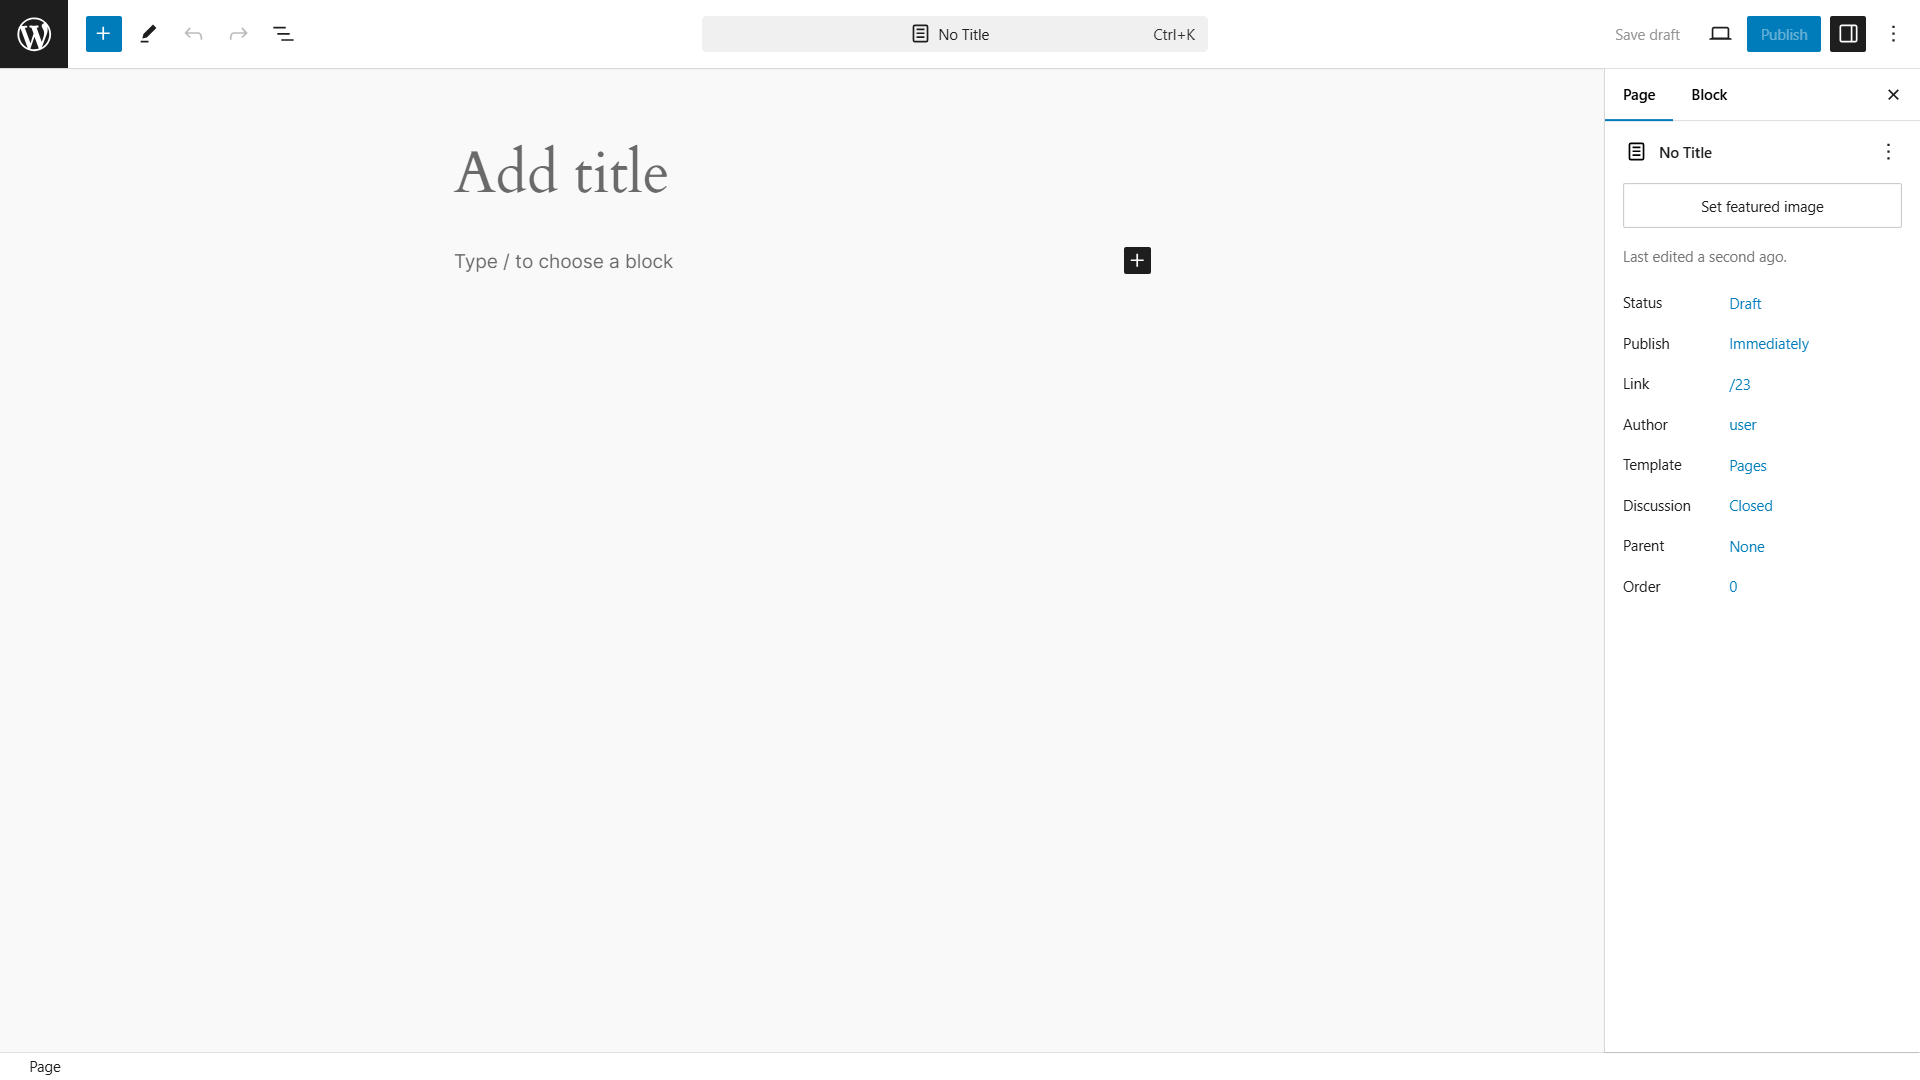
Creating a new page involves the same WordPress block editor. Therefore, text input and formatting are similar to making a post.
To create a new WordPress page, click Pages → Add New Page.
The Pages menu does not have Tags and Categories options. Instead, it has a section called Page Attributes. There, you can change the order of the pages and set parent pages.
Pro tip
Customizing the WordPress permalink of your posts and pages makes them easier to identify, making your site more user-friendly.
Optimizing WordPress performance
As your WordPress website grows, so does the amount of text, images, code, and other media files it contains. With more content to load, your site’s performance can slow down.
Worry not – there are plenty of methods to speed up your WordPress website! With a wide range of plugins and tools available, optimizing your site’s performance is easier than ever, even if you don’t have any technical expertise:
Optimize WordPress images
Large, uncompressed images can slow loading times, but resizing or compressing them can reduce file sizes without sacrificing quality. Therefore, consider resizing high-resolution images or activating an image optimization plugin.
Enable GZIP compression for WordPress
This method effectively improves your site’s loading speed by reducing file sizes, particularly for repetitive HTML and CSS files.
Set up a content delivery network (CDN)
Speeds up WordPress by caching content in multiple global data centers and delivering it from the closest one to the visitor. Moreover, CDNs also pair well with caching plugins.
Activate a WordPress caching plugin
Creates a static version of your website to reduce the need to load PHP scripts on every visit. This allows browsers to retrieve some content from their cache, minimizing server requests and speeding up load times. With Hostinger’s Managed WordPress hosting, you’ll get pre-configured server-level website optimization with the LiteSpeed Cache plugin.
Enable lazy loading
Typically, a web page loads all content at once, but WordPress lazy loading delays some objects until they’re needed. For example, images load only when they come into the visitor’s view.
Defer JavaScript parsing
Themes, plugins, and social media add-ons often load JavaScript first, delaying the appearance of HTML and visual content. By deferring JavaScript parsing in WordPress, visual elements will load faster, while JavaScript-based content loads afterward.
Maintaining and securing WordPress
Thanks to its large user community, the ways to prevent WordPress’ common security issues are widely shared and discussed. Based on that, here are the basic WordPress security measures to implement on your site:
Keeping WordPress updated
Using the latest WordPress core software, themes, and plugins version means updating security fixes to protect against known vulnerabilities. While updating WordPress is easy, consider automating the process to avoid missing any update notice.
Creating a WordPress backup
Backing up your WordPress site is essential to ensure you have a clean copy to restore if things go south. While you can back up manually by downloading files and the MySQL database, this can be daunting for frequent updates or multiple sites. WordPress backup plugins and many hosting providers, including Hostinger, offer automated backups.
Using unique usernames and passwords
Using generic usernames and passwords makes your WordPress site prone to hacking, so making them hard to guess is important for added security.
Create a strong password by incorporating numbers, capital letters, and special characters to make it more difficult to guess. If remembering the password is hard, use a dedicated password manager like 1Password to store them securely.
Set up two-factor authentication (2FA)
Two-factor authentication adds an extra layer of security to your WordPress login. It requires users to provide a second piece of information, usually a one-time code sent to their mobile device or email, in addition to their password. Doing so makes it harder for hackers to access your site, even if they have your password.
Limit user access and roles
If you’re building a website with multiple team members, you can assign different WordPress user roles for every person. For example, if a user only needs to write content, assign them the Author role instead of Editor. This practice limits the risk of unauthorized changes to your site’s configurations and credentials.
Making money with WordPress
WordPress’ extensive collection of themes and plugins lets you build any type of website, including those to generate a profitable online presence, such as:
Creating an online store
Building your own online store lets you sell products while controlling your branding, customer experience, and sales strategies without platform restrictions.
As the most popular WordPress eCommerce plugin, WooCommerce has extensive add-ons, themes, and resources to facilitate a convenient selling journey. From payment gateways to shipping calculators, there’s a solution for almost everything you want to add to your store.
Additionally, WooCommerce can scale with your business. You can start small and gradually grow your online store with more products, features, and functionality – the sky is the limit.
If creating an online store is your primary website creation goal, consider signing up for fast WooCommerce hosting to provide a seamless shopping experience for your customers.
Building an affiliate marketing business
Affiliate marketing is a business model where you earn commissions by promoting products or services through referral links. To start earning money, you’ll need to join an affiliate marketing program, which sometimes requires website ownership.
There are multiple ways you can try to promote your affiliate links, and starting a blog becomes one of the most effective ones with WordPress. Whether you’re promoting through blog posts, product reviews, or curated lists, the CMS provides all the tools you need to build a successful affiliate business.
Building a membership website
Building a membership website means offering exclusive content or services behind a paywall, where users pay a subscription fee for access.
This business model provides a recurring revenue stream, making it a good choice for a passive income source. It also lets you build a loyal audience by offering valuable content that keeps users engaged and encourages them to return.
With WordPress membership plugins like MemberPress or Paid Member Subscriptions, you can add the features you need to manage memberships, control access levels, and create multiple subscription tiers with different benefits.
Troubleshooting WordPress
Encountering errors in WordPress is normal, and most of the time, you can troubleshoot them yourself. These are some of the most common WordPress errors:
- White screen of death. This error occurs when your WordPress site shows a blank white screen. It is usually caused by plugin conflicts, theme issues, or PHP errors. It can be resolved by disabling plugins or switching to a default theme.
- “There Has Been a Critical Error on This Website”. This error message appears when a fatal PHP error occurs, often due to a plugin or theme conflict, or a problem with the site’s code. You can usually fix this by identifying the faulty plugin or theme
- HTTP Error 500. Also known as an “Internal Server Error,” it is a general issue that can result from server misconfigurations, plugin conflicts, or corrupted .htaccess files. Troubleshooting the error involves checking server logs or deactivating plugins and themes.
- “Error Establishing A Database Connection”. This error happens when WordPress can’t connect to its database, often due to incorrect database credentials, a downed server, or a corrupted database. It can typically be fixed by verifying your wp-config.php file or repairing the database.
If you encounter errors that aren’t listed above, you can also try debugging WordPress to troubleshoot them. We highly recommend using a WordPress staging site when tweaking code in your WordPress site, so you can test the changes without affecting the live site.
Pro tip
Hostinger offers a WordPress AI Troubleshooter tool to detect errors on your website and help solve them.
Migrate to WordPress
If your website is currently hosted on a different platform, there are several options to migrate it to WordPress:
- Use WordPress importer. WordPress has a built-in importer tool that lets you import a website from other platforms.
- Use WordPress importer plugins. If the built-in importer tool doesn’t support the platform you currently use, look for WordPress importer plugins.
- Use Hostinger’s free migration service. We’ll handle the migration if you want to move your WordPress site from another hosting provider to Hostinger.
Latest WordPress tutorials
In this guide, we’ve covered the basics of navigating WordPress, including how to install themes and plugins, plus a few other tips to help your site run smoothly. If you’re eager to learn more, check out our latest WordPress tutorials below!

